The Ultimate Flute Trial Guide For The Flutist Buying A New Flute!
The flute trial and buying process can be overwhelming, confusing, and exciting all at the same time! This guide is to help prepare teachers, students, and parents/guardians of a student in understanding the process of finding a new flute.
What is a Flute Trial?
A trial is a 7-10 day testing of different flutes sent by either a distributor or flute maker. Having flutes sent to you rather than being in person give you more time to decide if that flute is the right fit. They will send you 3-4 flutes of your choosing. Or if asked too they will pick out flutes that meet what you are looking for in an instrument. You get 7-10 days to pick a flute and if you do not like any of them you can send those back and request 3-4 more. You can keep doing this until you find the perfect flute! **It is important to note everyone plays differently and therefore plays well on different flutes. The flute will pick you, so take your time in finding the right fit!**
Steps To Starting A Trial:
Talk to your teacher!.......... It is important to ask your private teacher for help. They will have lots of suggestions about where to get your trial from and what flutes to try. If you do not have a teacher that is okay! This guide will help you figure out what to look for.
Find a few flute distributors or brands to contact....... If you do not know a specific brand you want to try I suggest going through a distributor, they will have a lot of variety!
Set a budget!....... It is very important to set your budget before you contact for a flute trial.
Do Some Research............ Watch Instagram and/or YouTube videos on people trialing flutes. Also read blogs! A lot of blogs will have suggestions on what flutes would be good for your level.
Pick A Few Flutes........... After all of the suggestions and research, pick 3-4 flutes that are in your budget that you would like to try. If you are not sure what flutes to trial then ask a sales representative from the distributor you plan to contact! Their job is to help find the right flute to fit you and they can make very good suggestions based on what flute playing qualities you are looking for.
Email the Distributor.......... Email the distributor to set up your trial! Usually they will have a page on their website for setting it up.
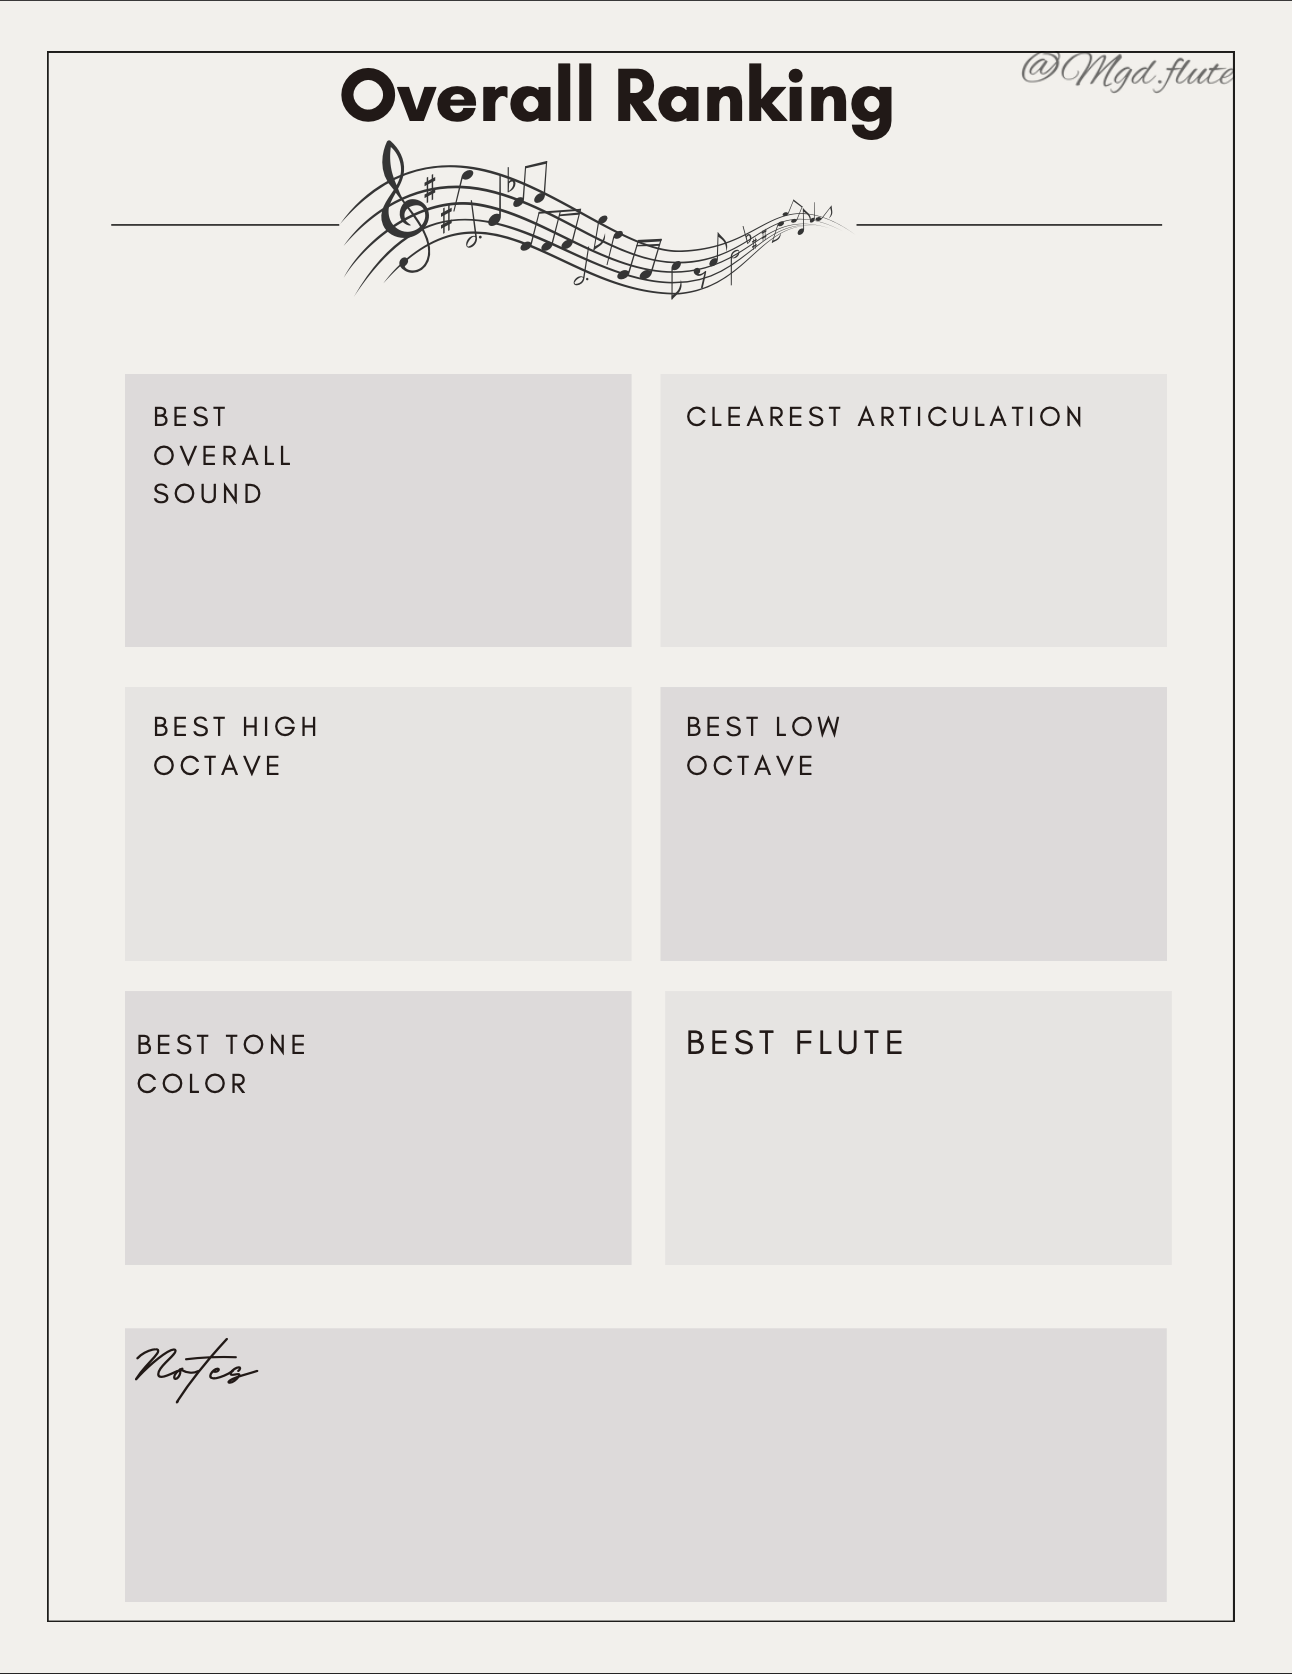
Finally........ Try The Flutes! Below is a chart that I use when trialing instruments. Use it to help guide your decision. This process can be overwhelming so take your time and do not settle for an instrument that does not feel right to you!
How Do I Know What I’m Looking For?
Figuring out what flute is the right one to purchase can be overwhelming. Something I tell my students to do is listen to recordings of your favorite flute players. Make a list of what you like from their sound and what you don’t and make note of what you would like to have in your playing. All flutes have different qualities about them that will help accentuate certain qualities of your playing. For example, different metals have a different color and timbre. Silver tends to sound very bright while gold has a more mellow sound. Different head joint cuts will help make the way you articulate easier (it depends on the player!). All head joints are cut differently, the tone hole can be bigger or smaller. Once you have made a list of qualities, ask the sales representatives from the distributor you are contacting! This is their job, they know exactly what flutes will help you reach your goals!
For Teachers!
It is important that your student understands what to look for in a flute! Every student’s playing is different and therefore what works for us may not work for them. We must guide them into understanding what they want and what works best for them. We cannot tell them they have to buy a certain flute just because we like it. At the end of the day this is all about them!
How do we do that?
Firstly, we need to make sure our student understands their strengths and weaknesses on their current flute. Sometimes the flute is not helping things they struggle with. For example, if they struggle with articulation and can’t seem to fix it maybe they need a different head joint cut. This is not always the case, but sometimes the flute is working more against us than we choose to believe. Secondly, we need to help our students learn what they want to achieve. Having them listen to their favorite flutists will help them develop a sense of what type of playing they want to achieve. Thirdly, use the checklist on page 5 and 6 to guide them on what we have to listen for when trying flute. Lastly, have much fun! This process is exciting and it can also be overwhelming so make it as an enjoyable for your student as possible.